2. Add the GraphQL schema
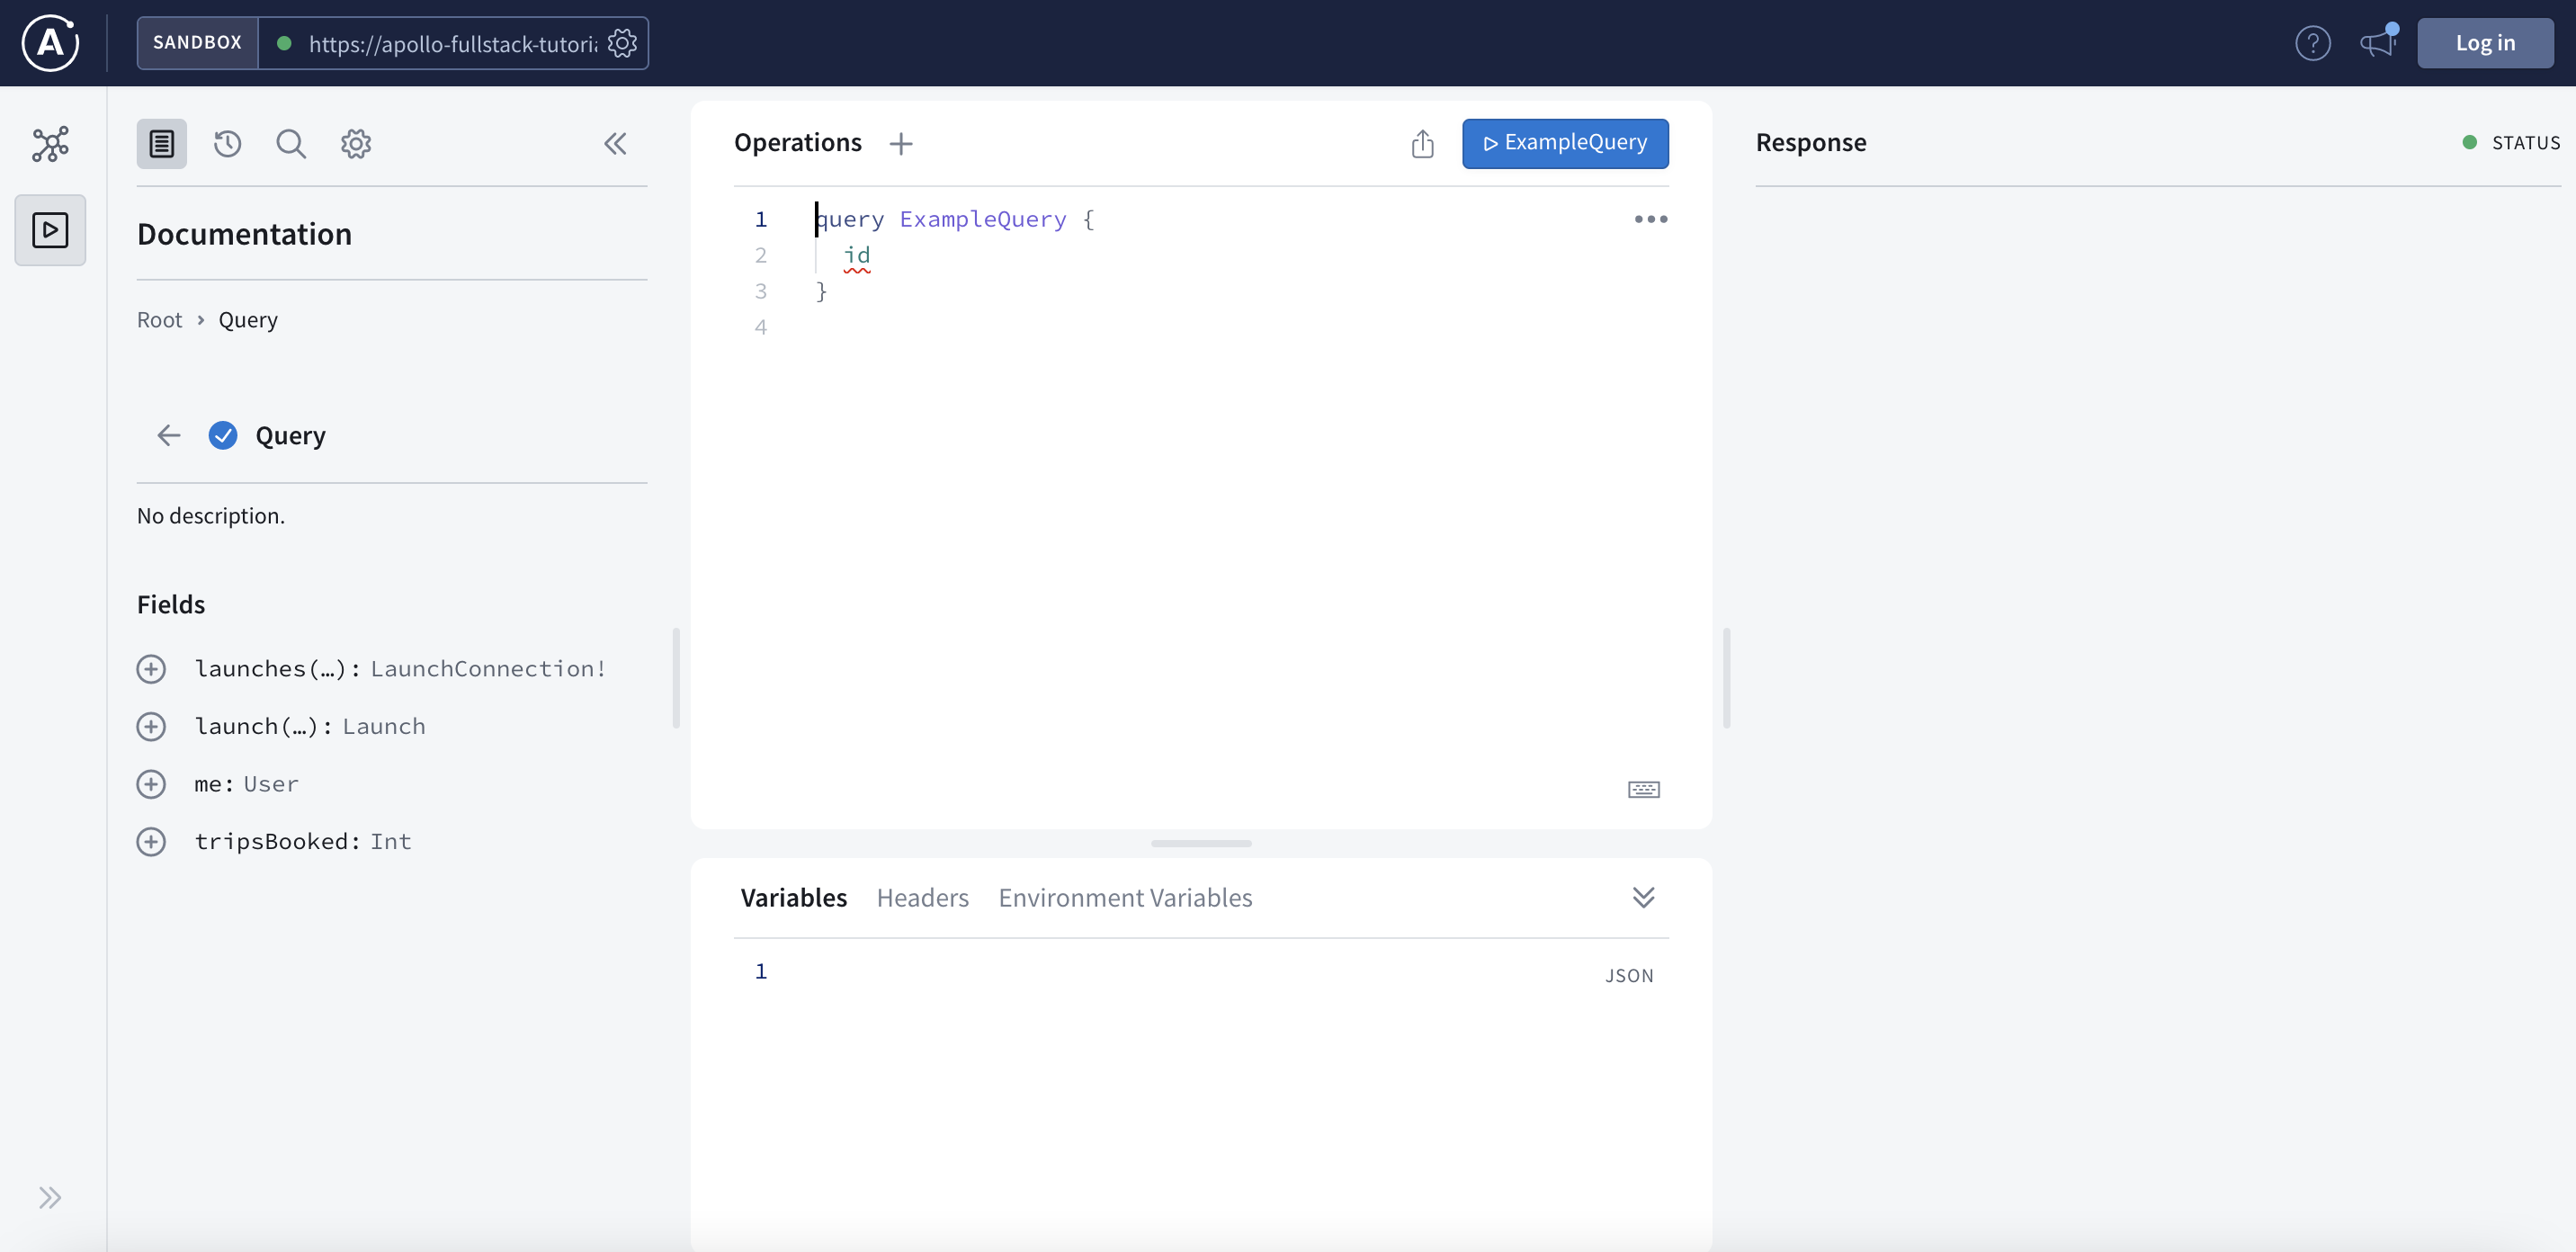
This tutorial uses a modified version of the GraphQL server you build as part of the Apollo full-stack tutorial. You can visit that server's Apollo Studio Sandbox Explorer to explore its schema without needing to be logged in:

You'll know that this Sandbox instance is pointed at our server because its URL, https://apollo-fullstack-tutorial.herokuapp.com, is in the box at the top left of the page. If Sandbox is properly connected, you'll see a green dot:

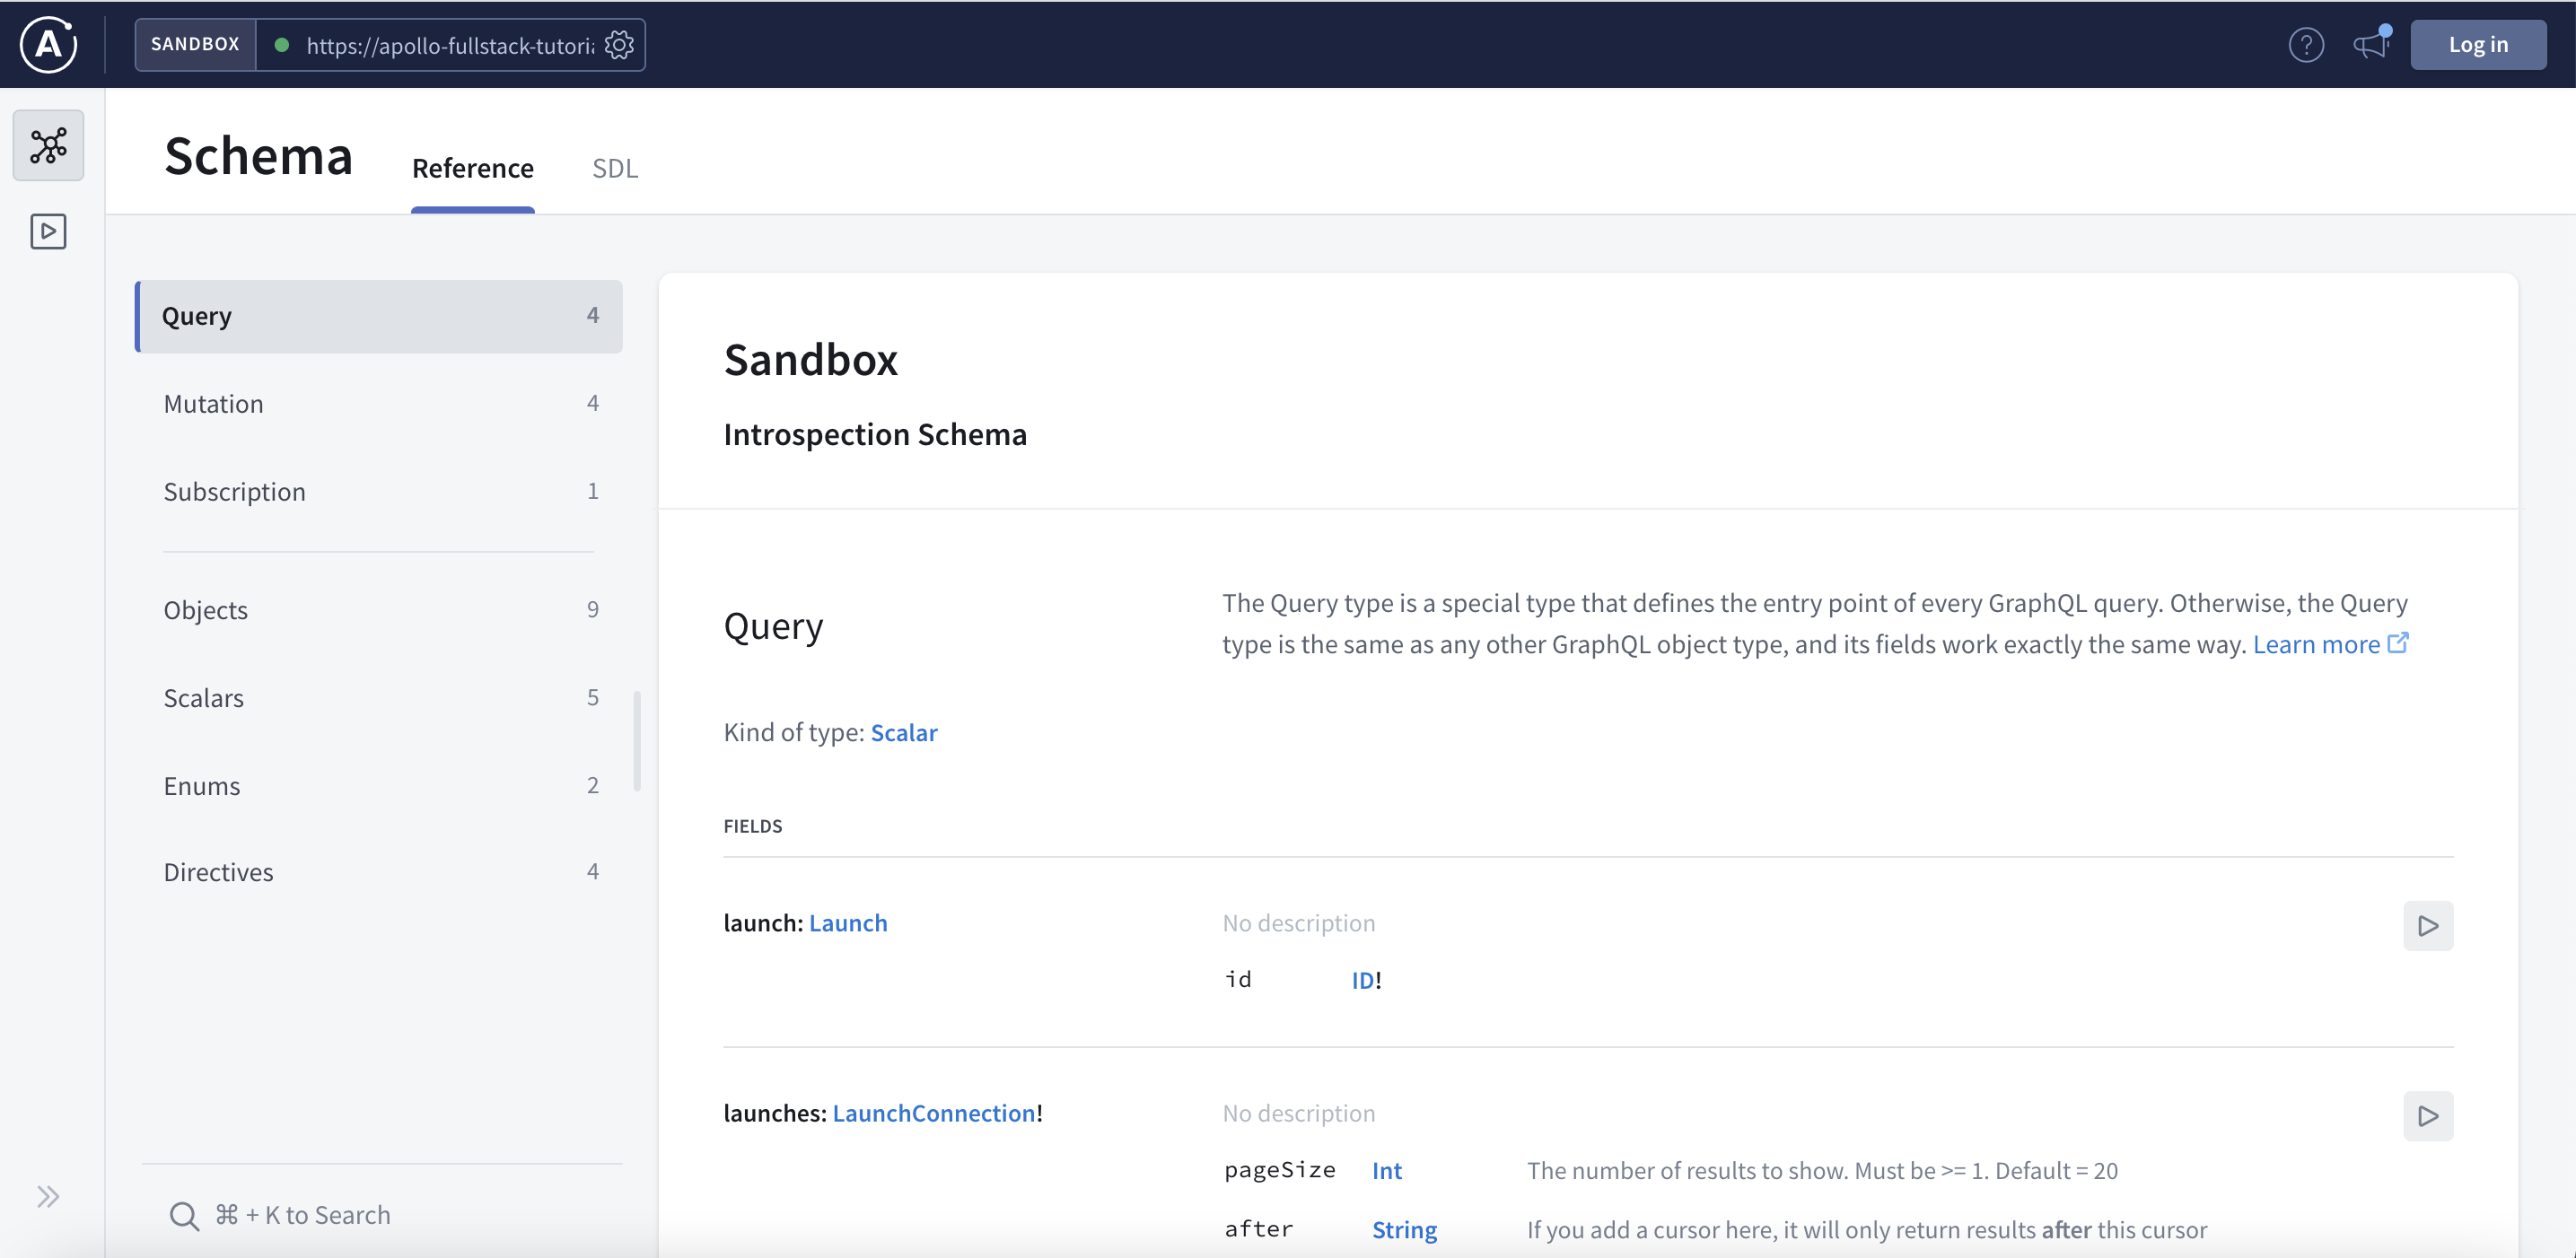
The schema defines which GraphQL operations your server can execute. At the top left, click the schema icon to get an overview of your schema:
In the Reference tab, you can now see a list of all of the things available to you as a consumer of this API, along with available fields on all objects:

Download your server's schema
Apollo Kotlin requires a schema to generate type-safe models and code from your queries. There are multiple ways to get a schema. For example, you can go to the SDL tab and download the raw SDL schema using Apollo Studio Sandbox.
In this tutorial, we will use the downloadApolloSchema Gradle task that is created by our plugin automatically. Since GraphQL supports introspection, this will work with any GraphQL endpoint that has introspection enabled.
From the root of the project, run the following in Android Studio's Terminal tab:
./gradlew :app:downloadApolloSchema --endpoint='https://apollo-fullstack-tutorial.herokuapp.com/graphql' --schema=app/src/main/graphql/schema.graphqls
Note that the path given to --schema is relative to the root of the project.
This will download a schema.graphqls file from your endpoint to app/src/main/graphql/schema.graphqls.
Next, write your first query that uses this schema.